2014-05-11

Alive, ALIVE!


The frame attached to the engine. I used two mates to attach it: lifting with two and the third one put the mounting bolts in. I also took the front fork for oil change and cleaning while it was easy to take off. Luckily I had quite a few photos since I almost struggled with cable/hose routings but got that all settled finally. Nothing too special to write about since it's mostly working with things I do on every ordinary maintenance.


Then I had to make some room to put the oil cooler, horns and the center stand on so I put the front wheel on and used a rear lifter.


And here it is, getting ready for the first start. The center stand bolts are still somewhere very safe since I couldn't find them. I wasn't as organized with those as with other parts that were all on labeled zip bags. Maybe they were in too bad condition and I threw those away? Well, I'll get new ones and borrowed the ones from the side stand this time, since they are the same size. I put the bike on the center stand for the first start since somehow it feels safer than the rear lifter. So here is the video:


2014-05-09

Almost a motorcycle

It's getting closer. I continued by lifting the frame away from the lift table so I get some room for the engine. There were two nuts left to tighten: The primary gear nut and flywheel nut. Both require significant amount of force so I didn't even try to do that when the engine was on the table.


 The primary gear nut is 190Nm and the flywheel nut is 270Nm. My biggest torque wrench can go only up to 210Nm and even though the book says the tolerance should be only 5% while generally they are 10%, it really shouldn't matter that much or at least that's what I heard from quite experienced technicians. I started by assembling the flywheel and tighten it just a bit so I can attacht the flywheel holder tool I bought earlier. I was told that I could just use impact gun to tighten the nut so there wouldn't be need for a tool, but I didn't feel very confident about that so I decided to get the tool. It's not the original type that attaches to the case with two bolts but instead it has a long handle so it requires two to hold it and tighten the nut which wasn't a problem since I share the garage with my friend. Holding the flywheel it was fairly easy to tighten the primary gear nut to 190Nm and bend the washer to lock it. On the flywheel side I just tightened the nut to wrench's maximum 210Nm and used an impact gun to tighten it about 10 degrees more. I think it's fine.


Once the covers were closed by applying sealant on the surfaces I attached the swingarm to the case and it was ready for the frame to be lifted on it.

Pistons, cylinders and heads


It was time to make the pistons shine since they were pretty dirty. Nothing was seriously burned so it was quite a bit easier than with the valves. Just some WD-40 and wiping. I figured it would be whole lot easier to fit the pistons in the cylinders first as opposed to attach them to conrods first even though those circlips tend to be a bit tricky sometimes to get in specially when theres not too much room. And that's the method the Workshop manual suggested as well. I had new seals and circlips but didn't see it necesary to replace the piston rings since they looked good and there was only 40k km on the bike. So a nice cleanup for pistons and the cylinder, a thin film of oil to cylinder pipes and with a help of piston ring compressors the piston slipped in to the cylinder.


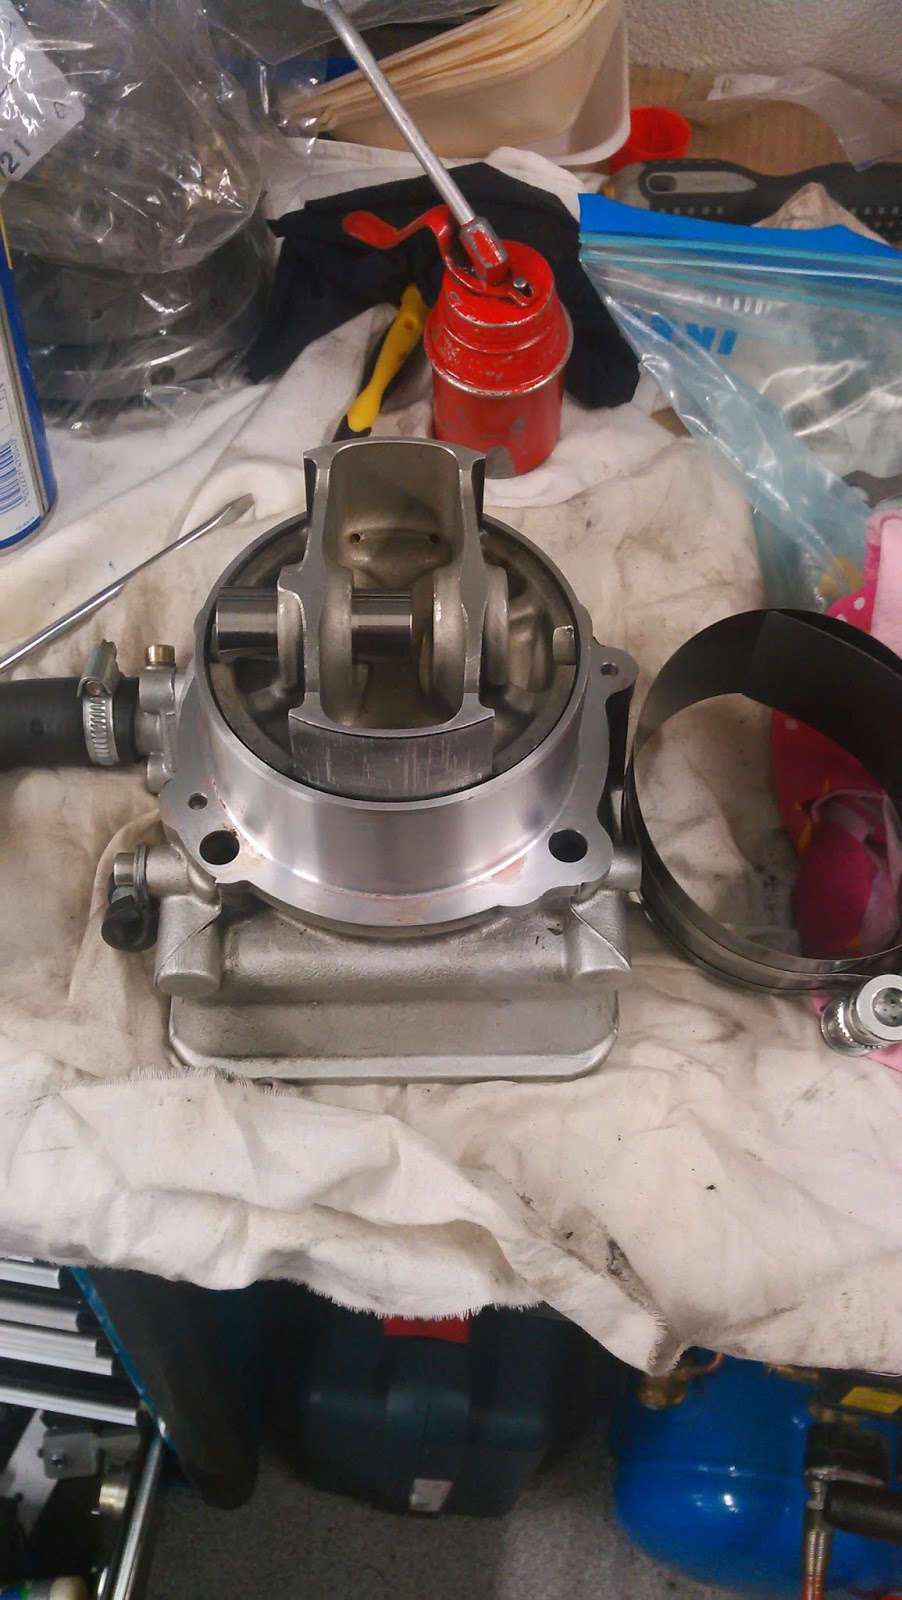
The cylinder pipe gasket requires some flange sealant on both sides of it and I used the Loctite's product that was mentioned in the book and it was available in the local store. It was pink color so of course I had to choose the rags covering the intake holes accordingly! Then I inserted the cylinders, locked the pistons to conrods, inserted a new head gasket, the head and head nuts.


There are three torques for the head nuts: 15Nm, 30Nm and finally 48Nm. I had the self made tool and a digital torque wrench I invested on. I think the tool was worth spending some money since you can't break it by forgetting to untighten the spring and if we go by the book, you should loosen and retighten it between every nut. This one doesn't require any of it and it also shows the current torque, so it was quite convenient to tighten the bolts evenly (and of course working diagonally). The nuts and stud threads were greased before tightening as the book suggested and without greasing they would be looser due to friction.


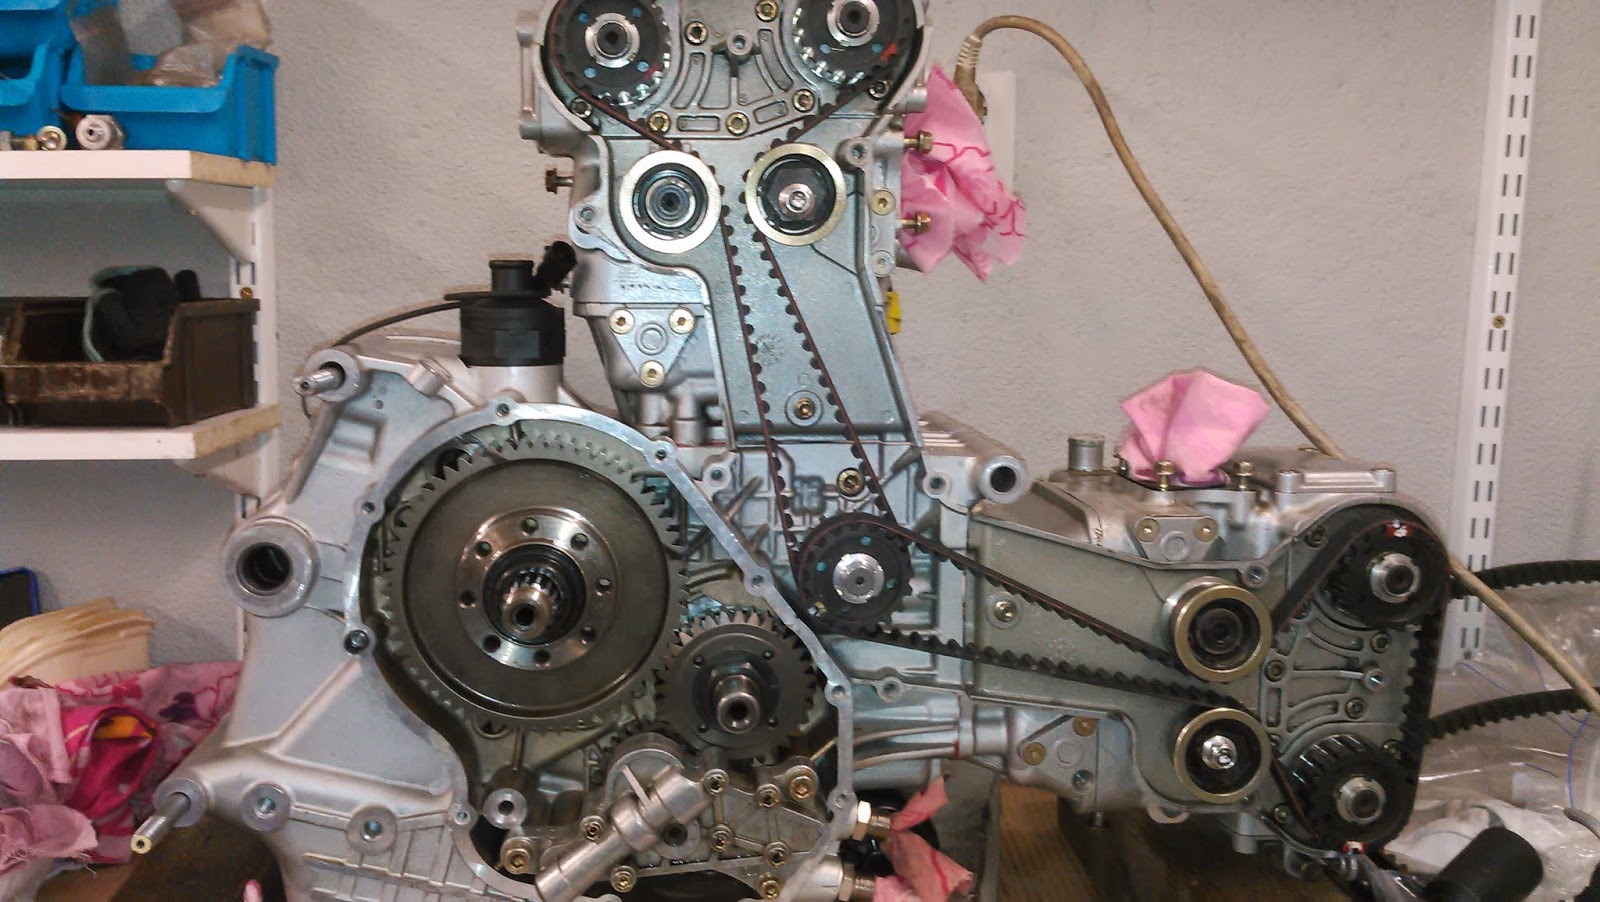
Once the heads were tight it was time to assemble the oil pump and the timing belts. Oil pump should be filled with oil to avoid air lock in which case the oil wouldn't flow when the engine is started. Also I had all new o-rings for the pump. Horizontal cylinder to TDC by looking at the marks on the other side of the engine (timing gear and the gear on the crankshaft under the flywheel) and the mark on the pulley on the RH side. Then align the camshaft pulleys to their reference marks and put the belts on. I used my mobile phone guitar tuner app to tighten the belts to 110Hz.


Gearshift lever alignment

Before assembling the cylinders and heads I took some time to make sure the gears engage correctly. For that the gear shift lever/fork needs to be in place. Ducati Workshop Manual mentions a special tool for the alignment and of course I didn't have one. But I don't see why it would be necessary since the only thing it does is 1) lock the gear selector drum in place and 2) shows the mid line of two drum rollers. The gearbox should be on second gear when it's aligned so if I had been wise enough and figured it out before closing the cases I would have marked the mid line of those two drum rollers with a marker. In fact this could have been done on the factory so the tool wouldn't be needed. When the bike is on the second gear, the drum won't move by itself. And all you need to do is to align the mid line of the two drum rollers and the line on the gear shift lever fork. The goal is to obtain approximately the same amount of movement to both upshift and downshift and then tighten the bolts. It's hard to get accurate feeling without using the actual shifter with your foot, but luckily this is fairly simple to adjust afterwards if needed. Of course the oil needs to be drained and LH side cover taken off..